
Nothing in cart
As usual I have purchased many items over the years and your business never fails to supply, prompt service and a very quick turn around. Great work to all at “caravan plus “
22th order by Chris from NSW
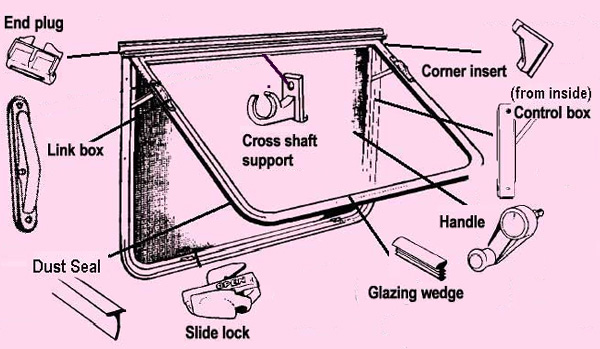
The following parts are all available as spare parts, plus replacement fly screens - for CAMEC windows.
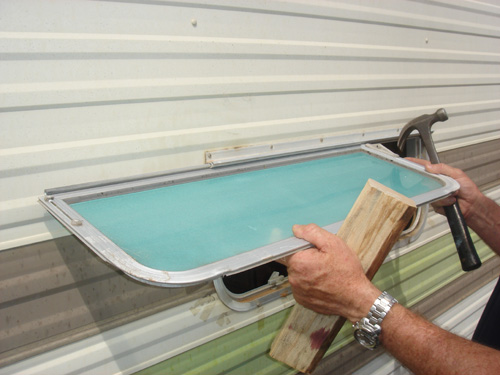
1) With window open, drill rivets from wind out arms.

2) Pull both wind out arms free.

3) While holding window at horizontal, gently tap window sideways with a block of wood. Tap against the solid section, NOT the edge. Check which direction the window will slide without running into an annex rail or other obstruction.

4) Catch End Plug (We also sell these if yours are damaged or lost)

5) Slide window free from frame.
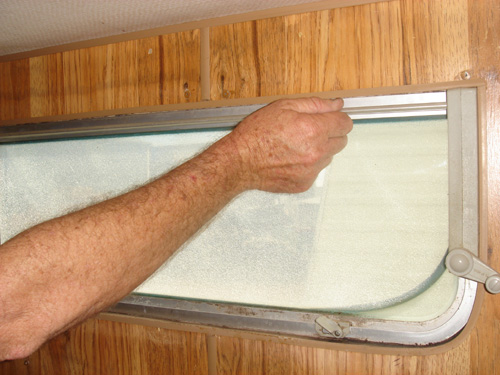
1) Use a flat screwdriver to release top corner of fly screen. Carefully pull to remove complete screen.

2) After you have removed the fly screen, you will be able to access the Winder Control Box screws from the outside of the van.

3) Unscrew top and bottom screws from both Winder Control Boxes.

4) You can remove the cross shaft by pushing into the left winder box, or remove both Winder Control Boxes and the crossbar out as one unit. They can come apart so you need to make sure both boxes stay wound out the same amount for the window to be able to shut again.
When replacing the Caravan Window if you find the window closes at one side before the other, you need to remove one end of the shaft and manually adjust the window so both sides are equal, then replace shaft.
1) Before you are able to disassemble the window you have to remove the Glazing Wedge. This is the rubber that fits between the frame and the glass.
The join is usually found in the centre of the top. Use a flat head screwdriver to start removing the wedge, then pull the rest out by hand.
If the glazing wedge is firm and/or brittle we recommend replacing it. (Search for "Glazing Wedge" on our site). Especially if replacing glass as it can crack during installation of brittle glazing wedge.
The glazing wedge used to hold glass or perspex in place, is not actually the water seal. Water that enters here escapes out the drainage holes.

2) Replacement of wedge can be done on the bench, but we recommend you wait until the window frame is replaced. This prevents the top edge, which is the hinge, becoming bent during the installation of the rubber wedge. When doing as the final step, ensure winders are installed correctly and window closed.
To install the new Glazing Wedge, spray the window and frame with some soap and water to help the rubber slide in. The join should be at the top centre. The rubber goes on the exterior of the window. Use a spline roller or a flat head screwdriver to help push the Wedge into place.
To get around a 90 degree corner, make a small cut in back of the wedge and insert in to corner. The round corners should remain uncut. Do NOT stretch new rubber when inserting.

3) After the Glazing Wedge is removed you are able to disassemble the window. Remove the screws from the SIDE at the top corners of the frame. This corner insert can be brittle and if it is the white plastic version, we advise to replace these, see later section.
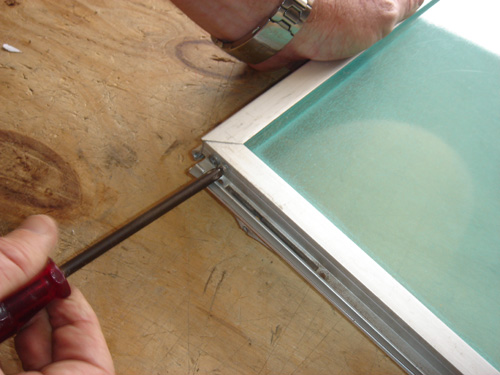
4) The upper window frame will easily come away from the lower frame and the glass can be removed.

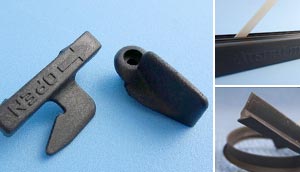
5) The corner inserts can be removed and replaced if damaged. They are available in metal and plastic versions.

To replace a damaged window yourself we recommend changing to perspex especially for older windows that may have a warp or other damage to the frame.
If you wish to stick with glass, then you may need to take the window to a Glazier.
1) Remove and disassemble the window as previously described. Trace the old glass on to a new sheet of 3mm perspex. Or 3mm glass.
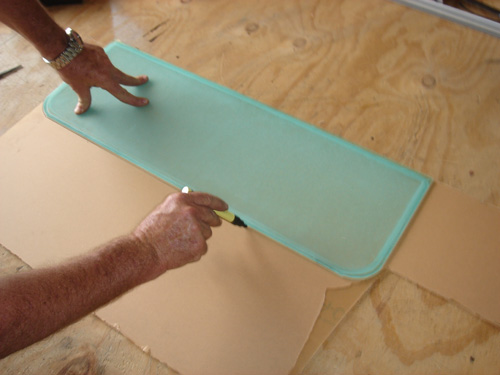
2) Score the straight lines part way through from each side. Crack the remainder. Use a laminex cutter.

3) Using the sharp edge of a table line up the score and snap the perspex to shape.
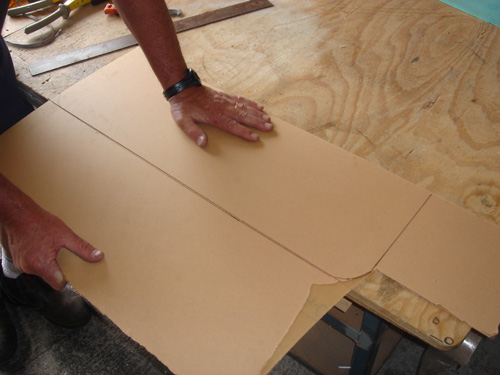
4) Corners can be rounded with a saw, a bench grinder, or an electric sander. You don't have to get it perfect as the frame will cover 5mm or more.

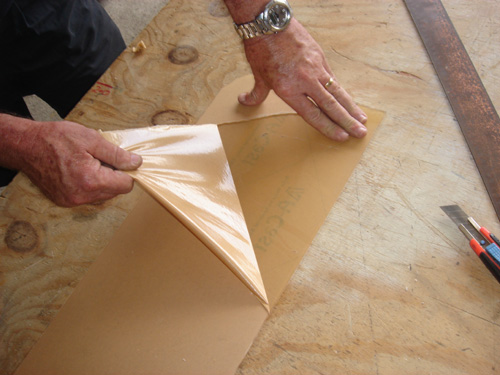
5) Remove the protective paper from the perspex and reassemble the window and Glazing Wedge as described above.
The window dust seal is the rubber strip which runs around the perimeter of the wind-out frame.
These get brittle with age and stop sealing.
1) The end of the Seal is usually held in its channel by a small squashed section at the end of the frame. The first step is to release this with a flat head screwdriver. A small amount of damage may result, but will be pressed closed later.

2) The Dust Seal should now be able to be pulled free by hand.
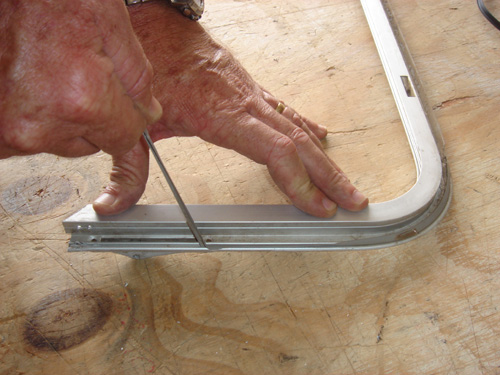
3) Clean out dirt from the Dust Seal channel and spray the frame and rubber with some soapy water to help the seal slide in.

4) Feed the Dust Seal in to the channel from one end. You can use pliers to help pull the seal around the channel while feeding it in from the end. Finally trim off excess, and press the aluminium down to prevent the ends slipping.





As usual I have purchased many items over the years and your business never fails to supply, prompt service and a very quick turn around. Great work to all at “caravan plus “
As always service and product was A1
Always get good service from these people.