
Nothing in cart
Excellent communication and service thank you
7th order by Geoffrey from VIC
This is part of our self-build caravan series. This section covers insulation, exterior cladding, roof sheeting, corner moulds and exterior design choices.
The main rule is simple: finish everything that needs to live inside the wall or roof before you close it up. Take photos of the frame and wiring as you go, because they are useful later when fitting cabinets, lights, awnings and accessories.
For the full series, start with Ever Wanted To Build or Rebuild a Caravan?.
Before adding cladding, stop and make sure the hidden work is finished. It is much harder to add backing plates, wiring, pipes or awning mounts once the outside skin is on.
Before adding your cladding ensure you have completed the following:
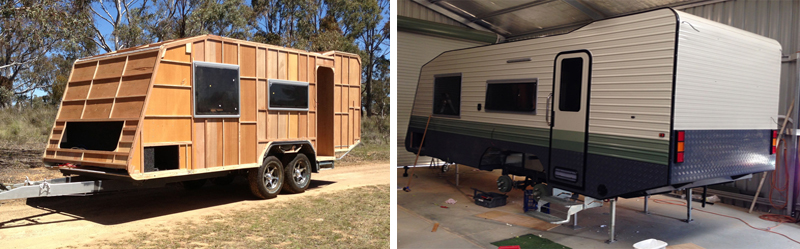
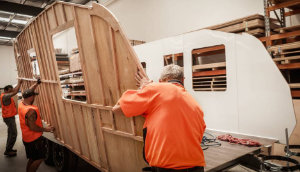
In this guide I will get you from the naked caravan shell shown above, to the almost completed caravan.
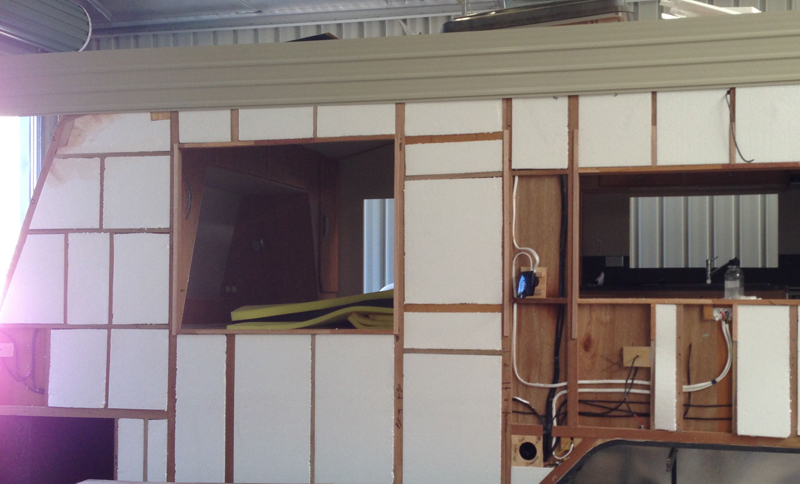
Wall insulation is best done with polystyrene sheeting, 18mm thick. This can be easily cut with a Stanley knife and if made a tight fit, will stay in place.

While the photo above was taken before all the wiring was installed, I'm sure you get the idea.
It gets a bit fiddly around your wires. I did experiment with expanding foam into the cavity around concentrated wiring areas, and I'm sure if you persist it would work, but I , like the manufacturers was a little impatient and a little slack in this area. Maybe glad wrap, then a sheet of temporary ply screwed to the studs would assist.
Any success in this area with photos would get a place in this guide, with acknowledgement.

Roof insulation is better if you use the batt style. It mainly fits between the cross members but a little that covers the cross members helps soundproof the roof.
Once you're happy that the insulation is complete it is really time to commit to the cladding. Are you sure you have done everything you need to do in that side wall?
The wall sheet cladding (if using aluminium ) is around 250mm high (coverage after overlap) and up to usually 6m long. It is pressed into shape by a very few manufacturers within Australia and there are a few generic profiles and some that are owned by Caravan manufacturers.
The most popular generic profile is called NF10, (that is what I use) and can be obtained from a few distributers around Australia, and most caravan repairs would also have access to it.
Caravans Plus have decided many years ago not to be a middle man in the supply of Aluminium cladding. The costs and risk during freight should be minimised so you will need to source this direct. To ensure this guide stays current, it is best to advise you to Google 'Aluminium cladding' or 'caravan repairer' to source this. At the time of writing CAMEC is able to supply this and many other specialist building materials. If you are unable to get NF10, other profiles may vary in coverage and depth of profile.
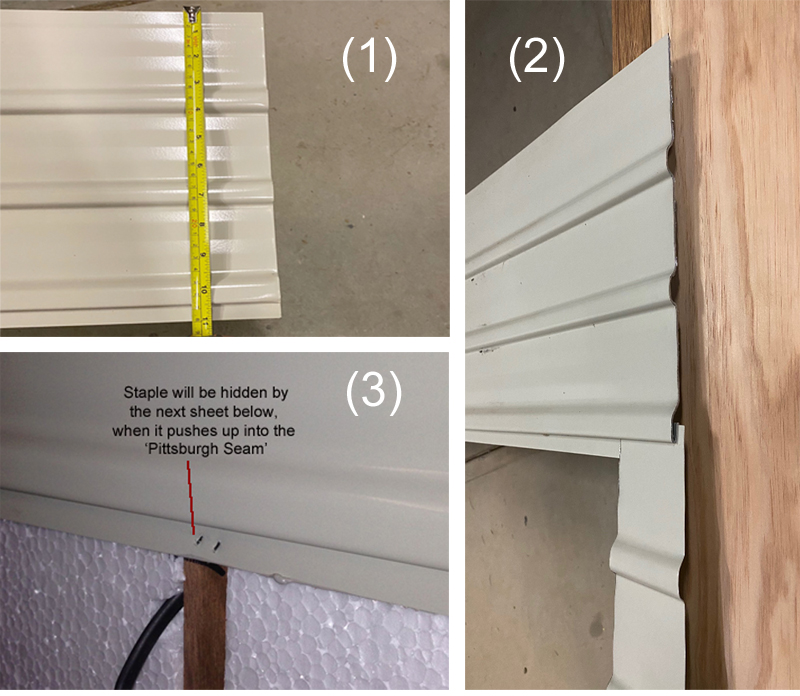
My method of placing side sheets is to temporarily position the sheet, go inside the caravan and mark the rear of the sheet where it is to be cut. For vents or windows that have sharp corners rather than curves it is advisable to drill the corner and cut to the drill hole. A curved drilled corner ( see image (1) below) is much less likely to be the start of a crack that can grow in stressed locations.
Any wiring for external lights is pulled through holes during the addition of each sheet.
The NF10 profile is around 8mm deep. This makes it relatively rigid, but requires an extra process where windows or corner mould is added. The high ridges in the profile should be reduced at the edges. Image (2) shows using a piece of timber and hammer to compress the profile for about 15mm from the edge.

On this caravan I added 500mm of powder coated aluminium checker plate. This fits into the standard 'Pittsburgh seam' but must be glued to the frame to hold it in position. The true checker plate is only 2400mm long so needs to butt join the next sheet on a vertical wall frame timber. The bottom edge is made flush with the wall frame base and gets covered with an edge mould. A few countersunk screws close to lower edge wouldn't go astray.

You may have noticed the different colours, on the side sheets. This caravan was built when it was only possible to get white or grey sheets. I had them powder coated with some different colour-bond colours so that touchup paint was also available. The touchup paint was used to blend the 'White' CAMEC door with the rest of the caravan.
The aluminium used on the roof is different from the side wall sheets. Due to the camber on the roof, completely flat sheeting is not recommended. The profile shown on the photos is called CP48. The profile gives extra stiffness on the front and rear walls, and very importantly allows for the sheets to curve over the roof camber.
You will need to order the sheets and define the seams you need on each sheet. The seams are only added after they are ordered. Looking at the 'Lock Seams' shown on the image below you will see an 'UP seam' and a 'DOWN Seam'. You will need one of each to make a sealed seam. These always have silicone added on the roof after installation.
Your roof sheets will bend or curve over to front or rear wall. This is called the transition sheet, because for a home builder you will treat the front and rear wall like the side wall and use 'Pittsburgh seams'.

Now it starts to get confusing. What sheet has what seam? The way I now do it will work for any size caravan.

The procedure to join the roof sheets, and the roof to transition sheets is:

If you have a large excess of width on your sheets, it may be safer to trim some off before installation, but the final trim is done during the installation.
Roll the sheeting up, inside out, and get some help to lift onto the roof and unroll.
After the sheeting is on the roof, line up the sides and position from front to rear to give the best location for front and rear 'Pittsburgh seam'. Staple the edges down then cut any openings for skylights etc. You would also staple around these openings to keep things snug.
When fixing the front and rear wall sheeting you should use adhesive as well. You may need to add a few screws with caps, especially if you have a flat vertical rear wall. The bottom sheet, at the front and rear will need to either have a bend to attach under the floor, or finish at the corner with an edge trim. By now you are officially an expert.
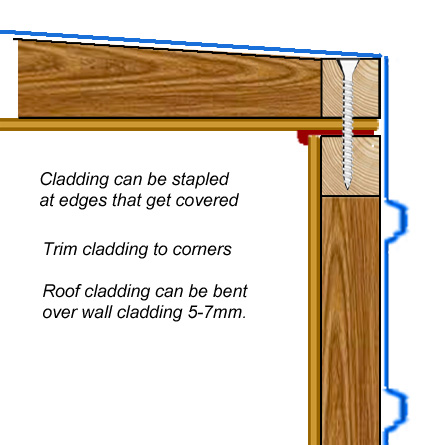
The sealing at the edges is done during the installation of the corner moulding.
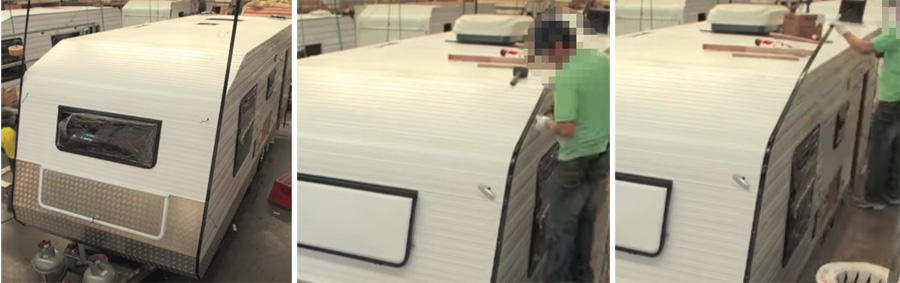
The corner moulding is often referred to as J-mould as this was the original shape. A 'J' on its side. It comes in a variety of styles, especially for vintage caravans.
Predrill screw holes every 300mm along the centreline of the extrusion. These should be slightly oversize to allow silicone to squeeze out and seal around fixing screws.
To install the moulding, start from the bottom at the front & the rear. I prefer to apply the silicone to extrusion, rather than on the edge of the caravan. For angular corners, remove a wedge on the short leg of the aluminium moulding and bend by hand. Progress upwards screwing as you go.
When going around curves, ensure a screw immediately proceeds the curve.
The corner mould I choose to use is called 'TruLine'. It is a softer than normal aluminium to allow for easier bending, without requiring annealing or heating in most situations. It will hand bend around curves of about 300mm radius, it can be curved around 150mm radius, with care, with the use of a mallet or block of wood. The following photos show the powder-coated aluminium. It is screwed and sealed before the decorative PVC insert is used to cover the screws.
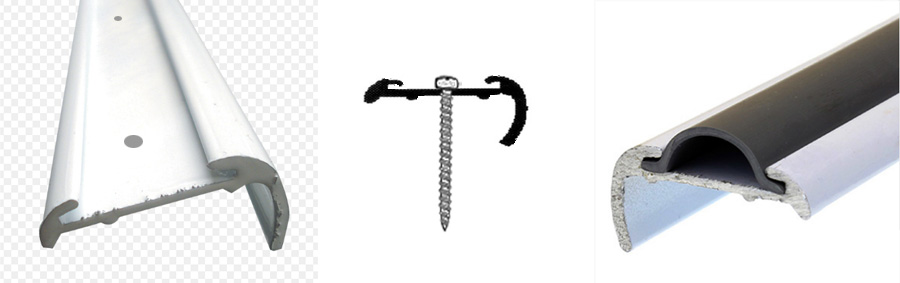
The 'Truline' brand, sometimes called 'American' comes in various colours and can have various coloured PVC inserts added after installation to cover the screws. The PVC is NOT part of the sealing process and may eventually need to be replaced due to discolouration and becoming brittle. You should get 10-15years out of it. At corners you may need to cut off the edges of the PVC to get it around the corner in one piece.

The J-Mould is pressed down and across to ensure a snug fit against the cladding. Ensure all surfaces that will have silicone MUST be cleaned with methylated spirits.

When screwed down, the silicone will squash out the edges - if it doesn't it may mean you will get a leak. At this stage, if there is some missing contact points, pad the silicone with your soaped finger to ensure complete contact. A spray bottle of household surface cleaner is ideal.
Next spray the entire exposed silicone, and edges of the cladding and J-mould. Running your finger along the silicone now will take off any excess, without smearing it onto the cladding or J-mould because it has soap already sprayed onto it.

A generous amount of silicon should remain on the roof join, but it should be 'SMOOTH' as any future leak will take dirt under the silicone and the dirt can be seen after the silicone surface is cleaned.
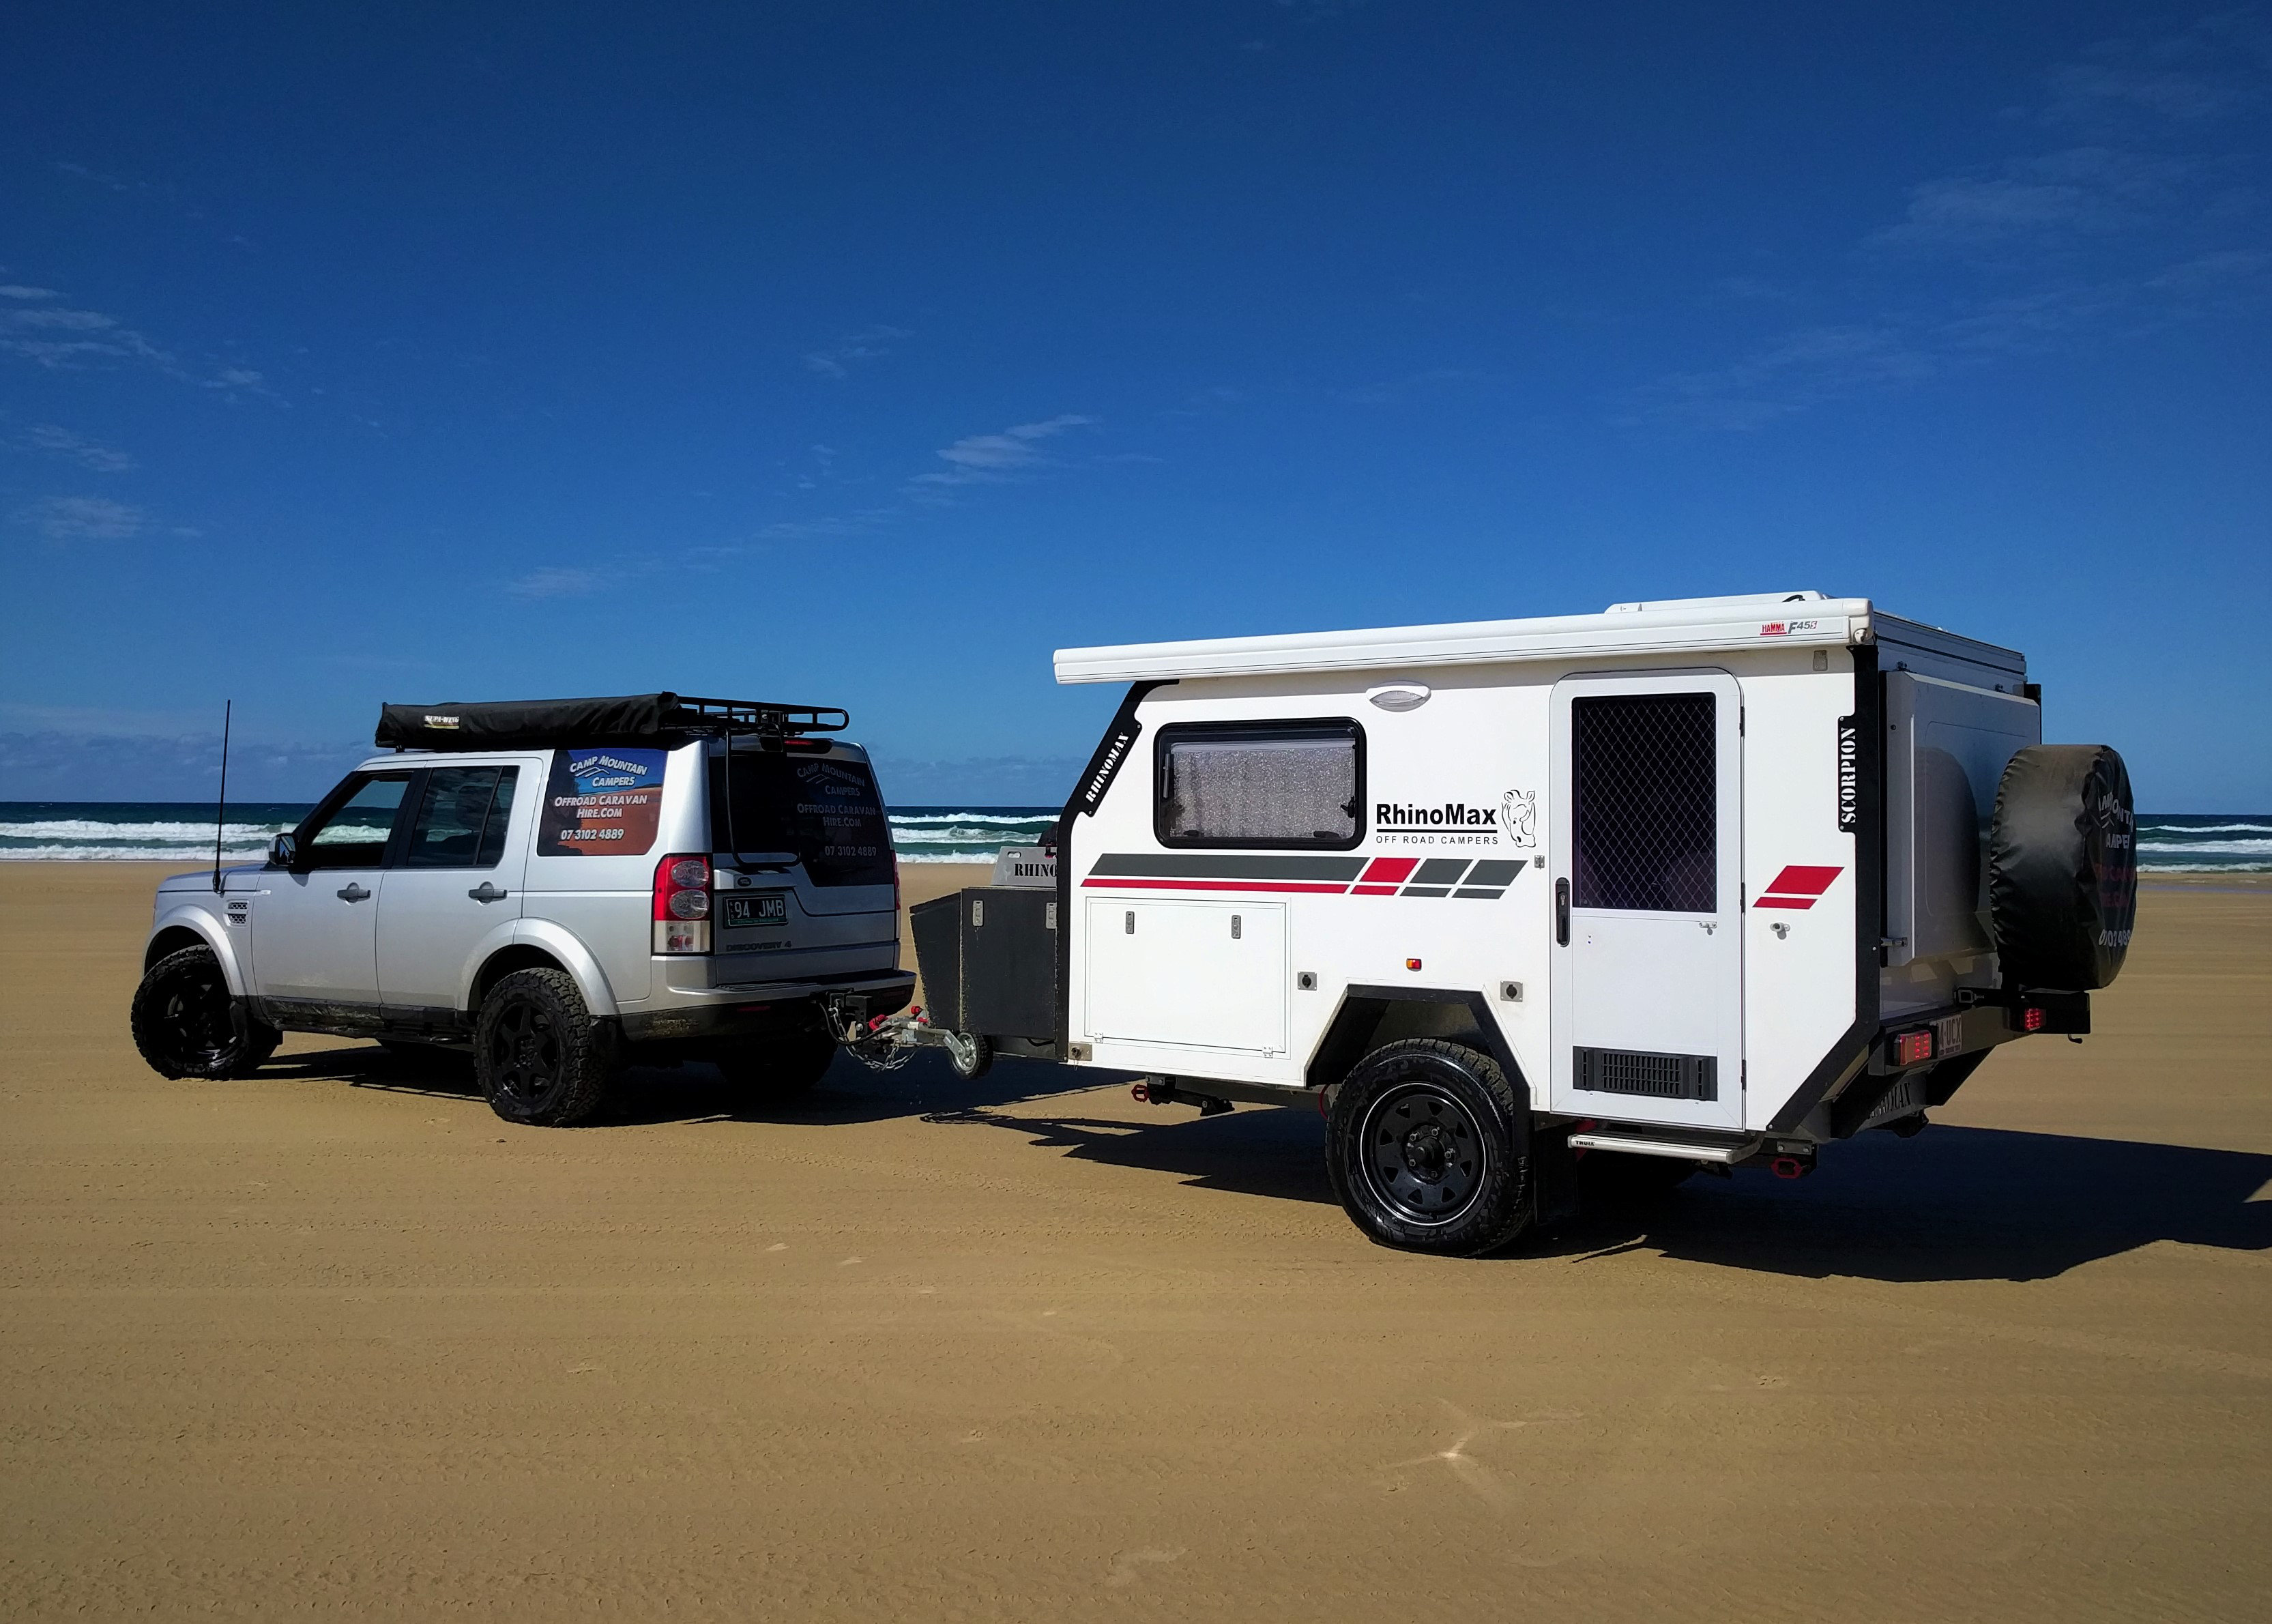
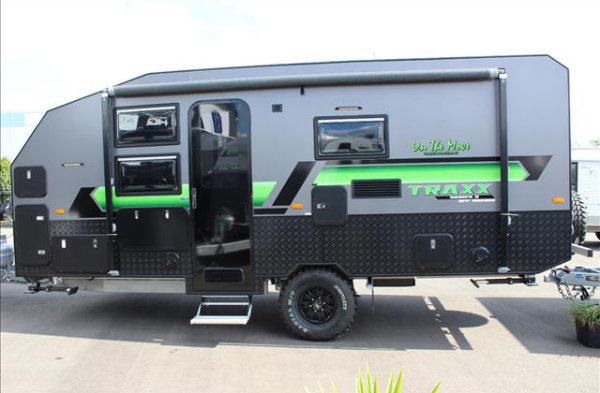
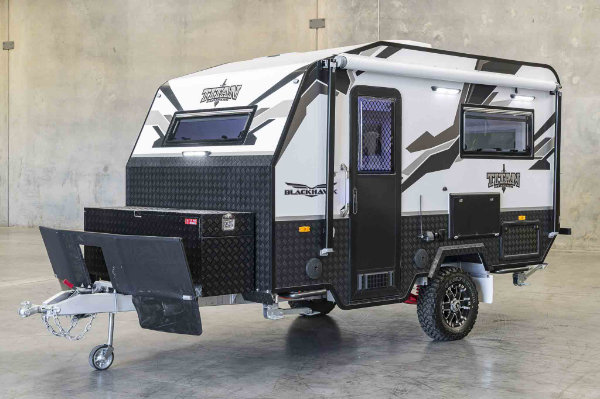
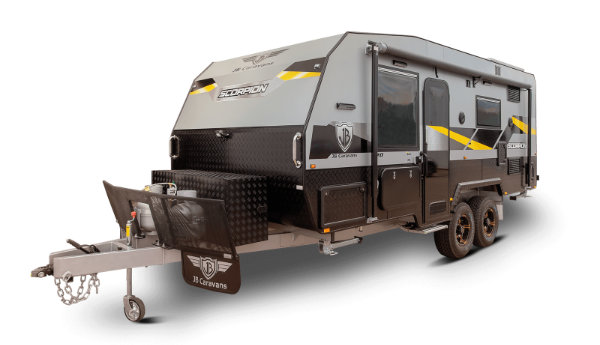
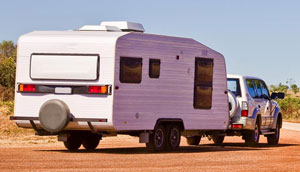
The exterior shape, colour, and material selections can be very important to the way your van finally looks. I would recommend that home built vans go for the "Tough and Rugged" look that many modern Off Road vans have.
It is very hard to achieve the perfectly smooth and flowing curved edges designs that some factory vans with plastic mouldings have. It is much simpler to allow yourself to have corners and chamfers rather than multiple curves.
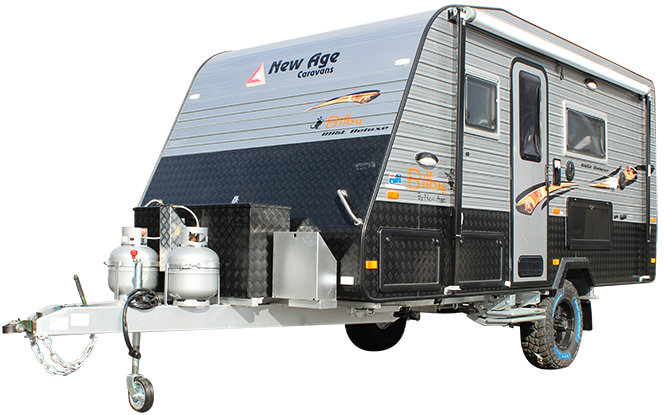
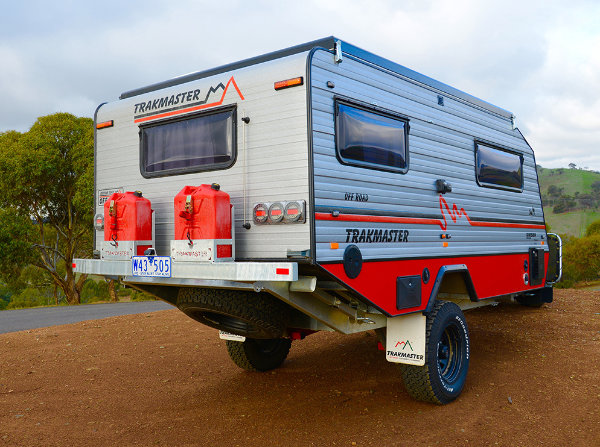
Below are some inspiration images of designs you can probably achieve. Notice the shapes are simple but they are made to look tough by addition of things like checker plate and dark colours around edges. If you can't hide something, make it stand out.










Excellent communication and service thank you
Ordered wrong strut again have returned for credit will order hopefully correct part this time other than that geat service and prompt refund very appy
product as described. very fast shipping. just 3 days from order to delivery. highly recommended.