
Nothing in cart

Excellent service. Prompt delivery and the product was exactly what I was after. Pricing was good also.
1st order by Alan from TAS
This is part of our self-build caravan series. This section looks at the chassis and suspension choices before you build the caravan body.
The chassis is one of the biggest decisions in a home build because it affects weight, suspension, floor height, registration, braking and long-term durability. Treat the measurements and examples below as practical guidance, not an engineering certificate.
For the full series, start with Ever Wanted To Build or Rebuild a Caravan?.
The caravan chassis is perhaps the biggest hurdle home builders have to overcome. There are three main ways to tackle it:
The best option depends on your skills, budget, tools, intended travel and how much risk you are prepared to carry. If the chassis is wrong, every later stage of the build becomes harder.
If you are already a competent welder then you can probably build the chassis yourself. We can explain the basic principles and materials, but you need to study the design of a commercial caravan built for the conditions and loaded weight you expect to run.
Axles and suspension can be purchased and attached, but the chassis still needs to be designed around the finished van weight, axle group, tow ball weight, tank positions, floor support, body mounting points and expected road use.
If you are nervous about building your own chassis, that is a good instinct to listen to. There are other options.

There are professional chassis builders around. You will usually find them by searching within your state or capital city. If you are unable to source a ready-made option, you could measure up an existing similar-quality chassis and provide drawings to a welder or trailer builder.
There are also some standard chassis available from trailer manufacturers and online marketplaces. A standard chassis can save time, but it still needs to suit your intended body size, axle position, suspension, coupling, brakes and loaded weight.
The advantage of a professional build is that you are not learning welding, design and compliance at the most critical part of the project.
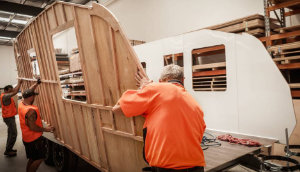
Another option is dismantling an existing caravan for the sole purpose of building on the existing chassis. This can give you the option of changing the layout and reusing some components and materials.

The two main advantages of this approach are:
This reverse engineering should not be underestimated. Resist the urge to demolish the cabin just to get to the fun part of building.
The disadvantage is that some very old caravans may have brake systems that are no longer suitable, or the chassis strength may not suit the popular outback-style build. If your intention is to get to more remote areas, a complete custom build may be the better answer.
You do need a good strong suspension system, but that does not mean it has to be the fanciest or most expensive.
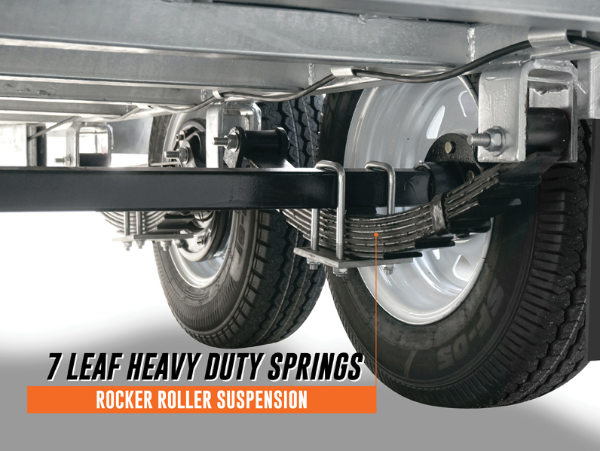
Many modern off-road caravans have independent suspension. In my experience it can be more of a marketing feature than completely necessary. I will not try to talk you out of one, but if money is limited you may be better off choosing a high-quality rocker roller spring and solid axle setup rather than a cheap independent system.
One of my greatest worries is breaking a specialised suspension component in the middle of nowhere. Leaf springs are much easier to understand and repair in remote areas.
Do not use slipper springs on a caravan. They are cheaper but are best reserved for on-road camper trailers.

My latest personal van has rocker roller springs and solid axles. It recently did the Gibb River Road with no issues.
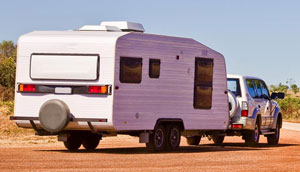
My current caravan is 20 feet long and semi-off-road. The chassis was based on a Roadstar caravan.
The main material sizes are:
The cross members between the chassis rails are:
The outriggers protrude outwards from the main chassis rail to the wall supports:





Excellent service. Prompt delivery and the product was exactly what I was after. Pricing was good also.
First class service as always. Item received quickly and as described.
Great Company to deal with and very reliable service.