Nothing in cart















My product was as I ordered and was delivered in a reasonable time
2nd order by Noel from QLD
This guide shows four common ways to set up water plumbing in a camper trailer, caravan or motorhome. Start with the simplest system that suits how you travel, then add complexity only where it solves a real problem.
Before buying parts, sketch your tank position, filler position, pump location, taps, sink waste, hot water system and mains-pressure inlet. The important planning points are water flow, tank breathers, access for service, hose runs that will not kink, and drains that can self-empty.
For drinking water, use food-grade tanks and hose. For 12V pumps, follow the pump manufacturer's wiring and fuse requirements. For mains-pressure water, pressure reduction and non-return valves matter because caravan fittings are not designed to be treated like household plumbing.
The most basic setup is a portable water tank or jerry can with a tap. It is simple, reliable and easy to take to a refill point.
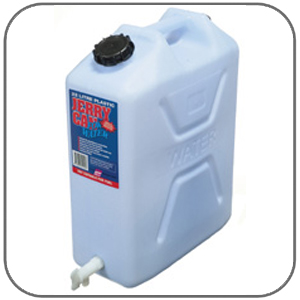
The downside is that the tap can be damaged, the container can be heavy when full, and you normally need to loosen the lid or vent cap so air can enter as water leaves. Opaque plastic tanks are best because they help reduce light exposure and keep the water fresher.
This style suits tents, basic camper trailers and occasional-use setups.
This is a common small caravan or camper-trailer system: a fixed tank, side filler, hand pump, sink and drain hose. It avoids 12V pump wiring and is easy to understand.

1. Water filler: A lockable water filler is fitted through the outside wall. It connects to the tank with food-grade filler hose and hose clamps. The filler must be above the top of the tank so water can flow down into the tank.
2. Filler hose: This is usually 25mm food-grade hose. Run it as a continuous downward slope to the tank where possible. Low spots and loops can trap air and make the tank slow or frustrating to fill.
3. Water tank: Choose a tank shape and capacity that suits the available space and the weight you are prepared to carry. Underbody tanks should be mounted securely and protected from stones unless the tank and mounting position are already suited to road debris.
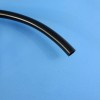
4. Outlet hose: A manual pump normally uses 12.5mm or similar food-grade hose from the tank outlet to the pump. Black food-grade hose helps reduce light exposure in standing water. Avoid kinks and tight bends.
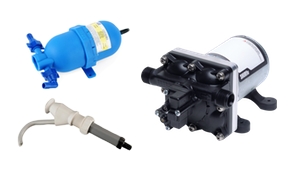
5. Hand pump: Hand and foot pumps are simple and reliable. If water drains back between uses, the pump may need servicing, replacing, or a suitable non-return valve added below the pump.
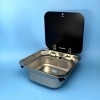
6. Sink or basin: Select the sink or basin before finalising the bench cut-out and drain layout. Check the sink waste size as well as the tap or pump position.
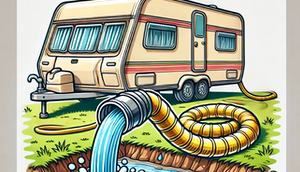
7. Drainage hose: The drain should fall continuously where practical. Trapped water can smell, especially in warm weather. Corrugated sullage hose is useful outside the van because it resists kinking and can be extended to the park drain.
An electric pump system gives pressure water at the tap. The pump normally switches on automatically when a tap opens and pressure drops.

1. Water filler and breather: The filler hose supplies the tank. The breather lets air escape while filling and lets air enter while the pump draws water out. A blocked or badly routed breather can cause slow filling, tank distortion or poor pump flow.
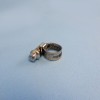
2. Filler hose and clamps: Use food-grade filler hose and suitable hose clamps. Keep the filler run short and sloping where possible.
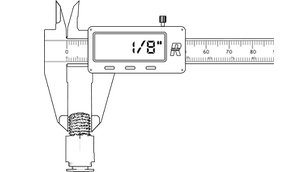
3. Tank outlet: Match the outlet fitting to your hose or pipe system. Do not rely on thread size by eye; check the product thread and barb sizes before ordering.
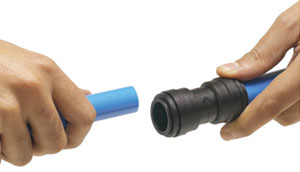
4. Cold water hose or pipe: For pump systems, use food-grade hose or pipe suited to caravan pressure water. The old DUX Qicktite pipe and fittings mentioned in older comments are no longer supplied by us. Current pipe-system options are shown in the pipe systems category.
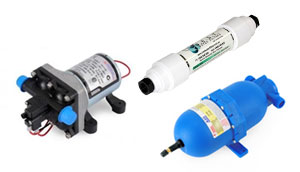
5. Pump filter: Fit a cleanable filter or strainer before the pump. Dirt in the pump can damage valves and is a common reason for poor pump performance.

6. 12V water pump: A pressure pump around 10-12 litres per minute is usually enough for sinks and showers in a caravan. Include a short length of flexible drinking-water hose on both sides of the pump to reduce vibration and noise transfer through the pipework.
7. Accumulator: An accumulator is optional. It can reduce pump cycling at low flow rates, especially with restrictive filters or small tap openings. Some modern bypass-style pumps reduce cycling without a separate accumulator, but an accumulator can still help in some layouts.
8. Taps and sink waste: Opening a tap drops pressure and starts the pump. Drains should be routed so they can self-empty, and grey-water handling should be planned before the floor penetrations are cut.
This is the more complex layout. It combines tank water, a 12V pump, mains-pressure inlet, non-return valves, hot water and mixer taps.
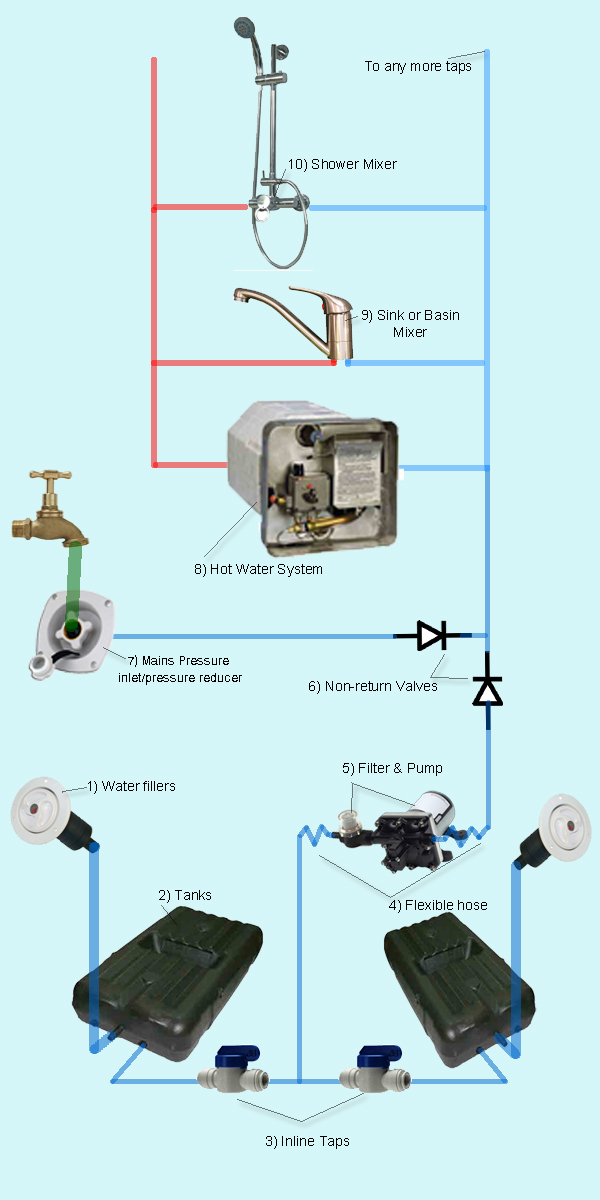
1. Water fillers: If you use two tanks, each tank can have its own filler. Linked primary/secondary tank systems may only need one filler, depending on the tank design and link hose.
2. Two tanks: If both tanks feed the pump together, they should be mounted at a similar level and linked so water can equalise. The connecting pipe should not rise above the tank level and trap air.
3. Isolation taps: Inline taps let you isolate one tank and prevent the pump drawing air after one tank empties.
4. Flexible hose near the pump: If the rest of the system uses semi-rigid pipe, include around 300mm of loose flexible hose on each side of the pump to reduce pump noise and vibration.
5. Filter and pump: Keep the pump strainer accessible for cleaning. If the pump is hard to reach, future fault-finding becomes much harder.
6. Non-return valves: These are critical when combining mains pressure and tank/pump water. One valve prevents mains water pushing backwards through the pump and into the tanks. Another valve stops pumped tank water escaping out through the mains-pressure inlet.
7. Mains-pressure inlet: A pressure-reducing mains inlet helps protect caravan fittings from excessive park water pressure. Some regulated inlets include their own non-return valve, so check the product details before duplicating valves.
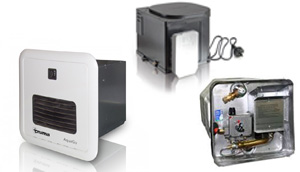
8. Hot water system: Hot water systems must be full of water before operation. The plumbing layout should prevent the HWS draining unexpectedly and should provide the pressure and flow required by the model you choose.
9. Mixer taps and shower mixers: Mixer taps need both hot and cold feeds. Household taps can sometimes be adapted, but RV-specific mixers are usually lighter and easier to package in caravan cabinetry.
When should the pump run?
The pump should run when you are using water from the tanks. When connected to mains pressure, the mains inlet should supply the taps through the regulated mains path and the pump should normally stay off. If mains pressure is forcing water through the pump or back to the tanks, check the non-return valve layout.
Can I use the mains-pressure inlet to fill my tanks?
Not with the simple layout shown above. A normal mains-pressure inlet supplies the plumbing system, not the tanks. It is possible to design a tank-fill path from mains water, but it needs the correct valves, backflow protection and a way to prevent overfilling. If you want that feature, plan it before installation rather than trying to reverse-flow through the pump.
Where should the non-return valve go?
Put the non-return valve where it stops the unwanted reverse flow. In most combined systems that means stopping mains water from going backwards through the pump into the tank, and stopping pumped tank water from escaping out the mains inlet. A check valve on the inlet side of the pump may not solve the same problem, because water can still be pushed through the pump before it reaches that valve.
What hose should I use near the pump?
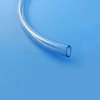
Use flexible drinking-water hose on both sides of the pump. This reduces vibration and makes the pump quieter. For the rest of the pressure-water system, use a caravan-suitable food-grade hose or pipe system with matching fittings.
Do grey-water pipes need breathers?
Sometimes, yes. If two waste pipes join into one sullage outlet and the drain is slow, gurgles, or pulls water from traps, a vented or better-falling waste layout may help. Keep waste runs self-draining and avoid low points that hold stale water. For a full grey-water setup, see our grey-water guide.
What should I do for freezing conditions?
Drain exposed hoses and tanks where freezing is likely. Water expands when it freezes and can split fittings, filters, pumps and hot water components. If you regularly travel in sub-zero conditions, design the system with protected pipe runs, drain points and access to empty vulnerable parts.
Is 12mm pipe OK?
Usually yes for many caravan pressure-water systems, provided it is a suitable food-grade pipe system and is matched with the correct fittings. Long runs, multiple outlets and higher-flow showers may need extra thought, so check the pump, pipe and fitting sizes together.